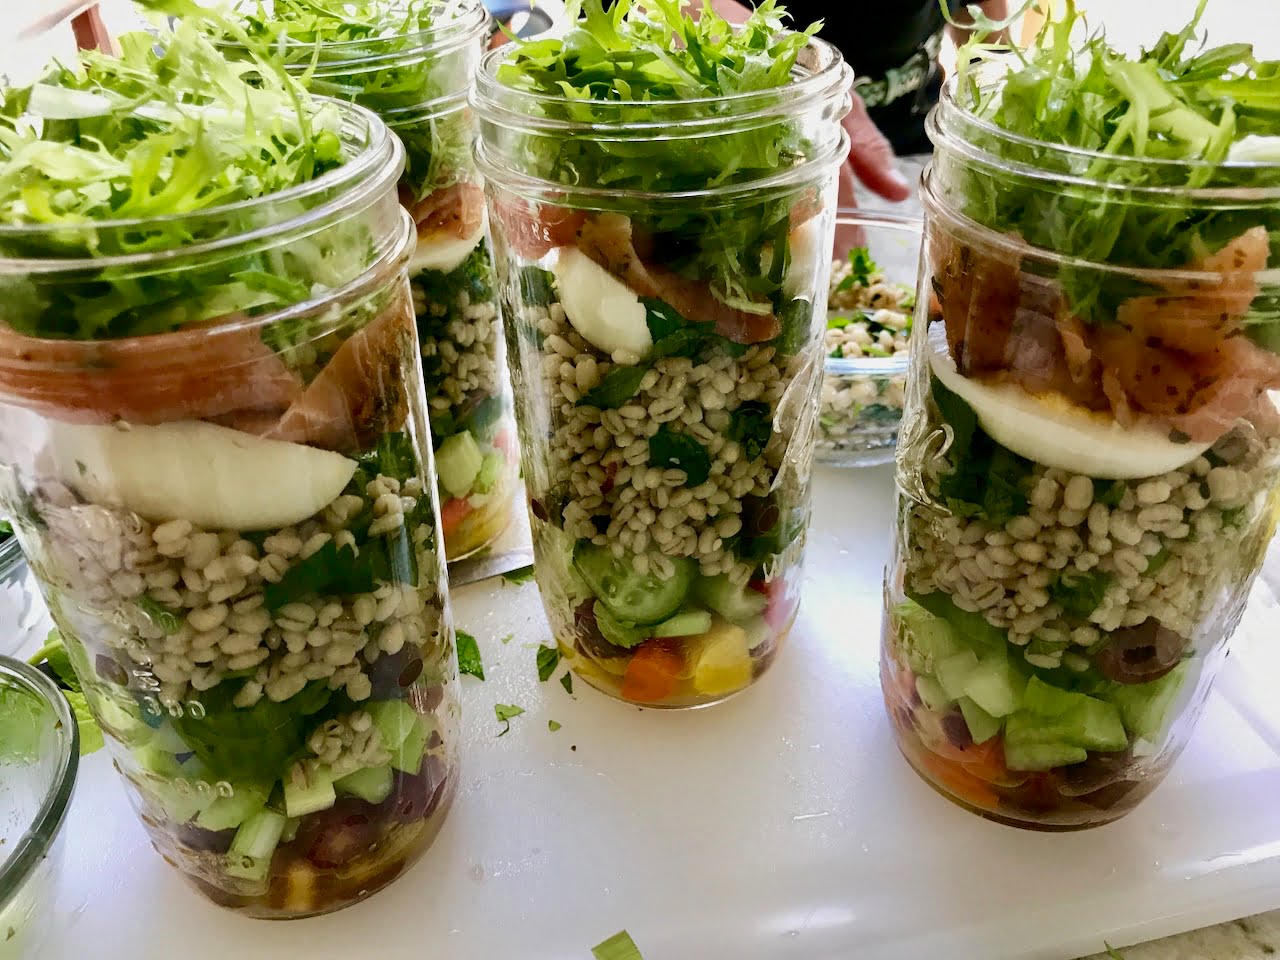
Healthy Salads In A Mason Jar To-Go for lunch, travel, leisure outings or simply to have ready in your fridge while working at home!
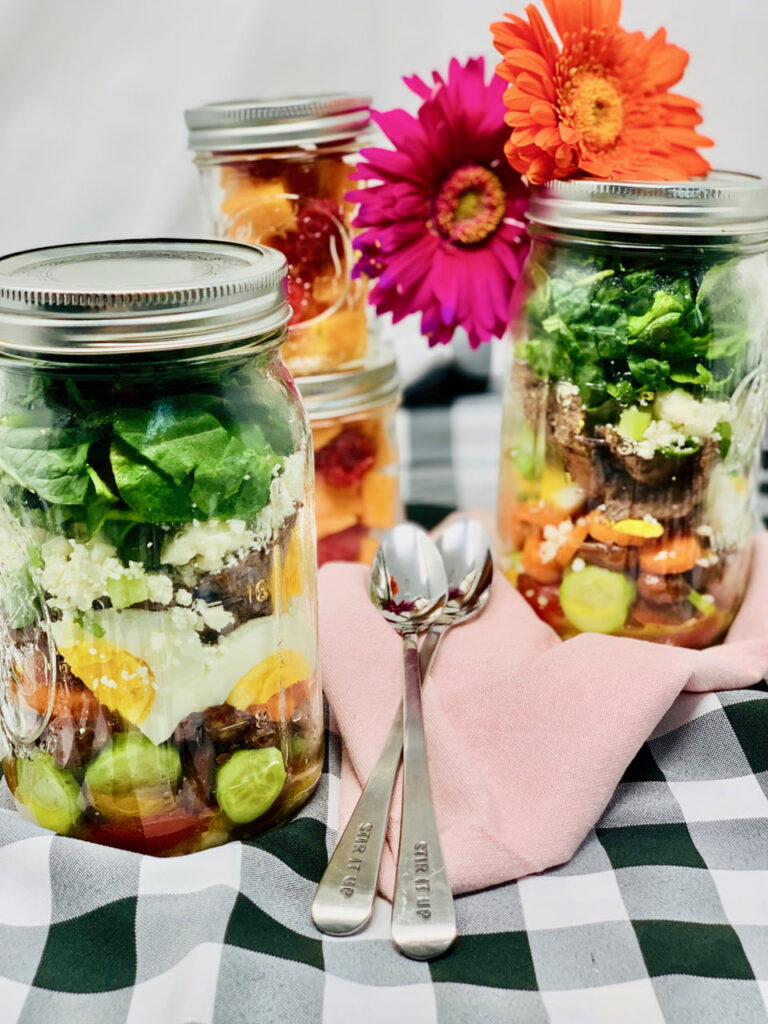
I’ll bet you missed this, when I first posted it in the winter of 2017, but since then, I’ve added so many new ways to enjoy a Mason Jar Lunch To Go that I am revamping this post!
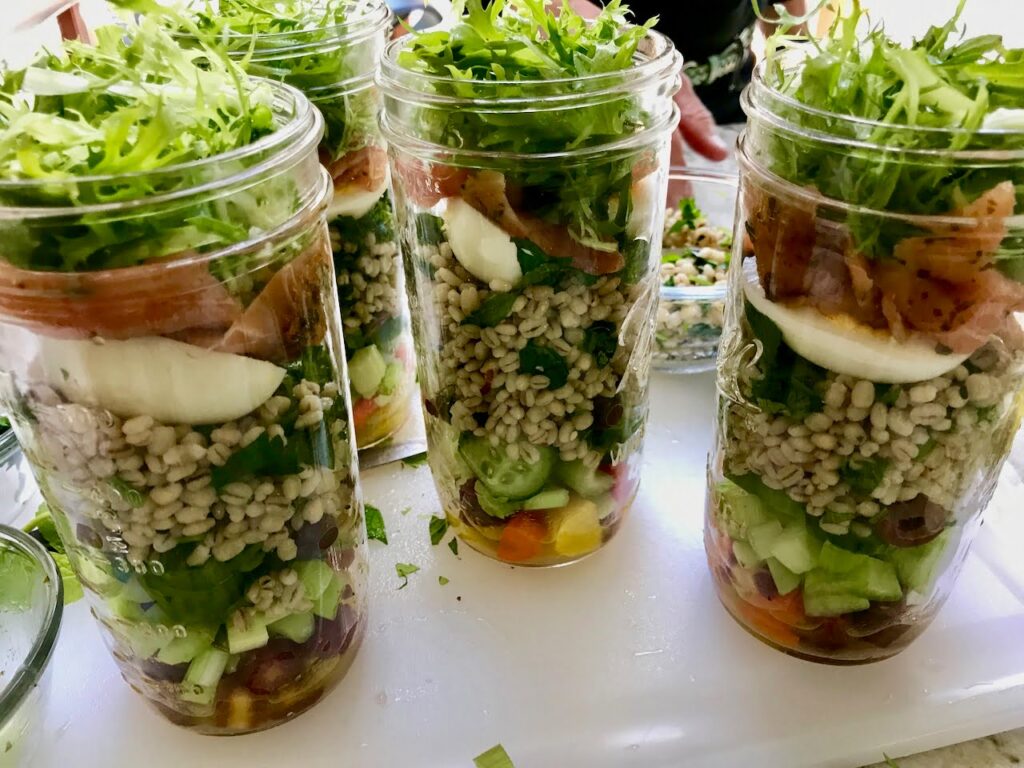
No More Thoughtless Lunches With Healthy Salads In A Mason Jar To-Go!
We shouldn’t need New Year’s resolutions or the onset of bathing suit season to eat healthy.
For sure we should be making time for more thoughtful meals.
But who has the time!
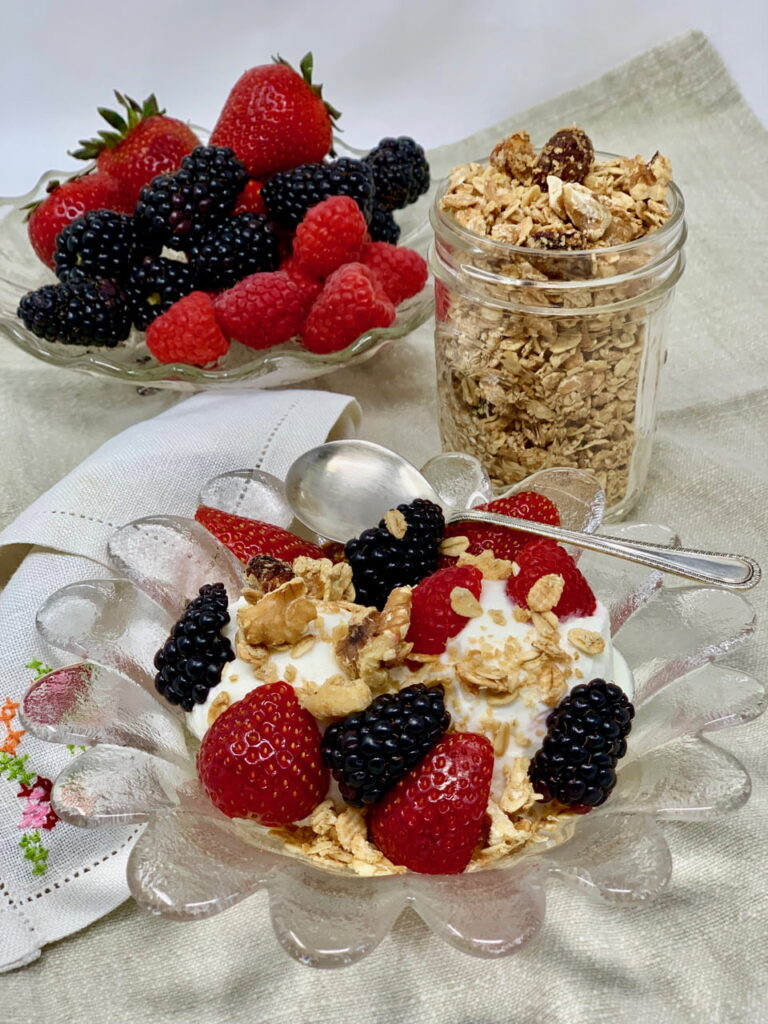
- While breakfast can be the easy, healthy meal to start the day; a bowl of Homemade Granola over Yogurt and fresh fruit.
- Dinner, a more thoughtfully planned way to end the day; be it with friends, family or quietly home and alone.
- Lunch is usually the meal we are too busy to think about, therefore, we often make our worst food choices.
Allow me to show you how you can use Mason jars and healthy ingredients to make lunchtime, perhaps, your best meal of the day!
What Is A Mason Jar?
Don’t tell anyone, but I’ve become obsessed with these multipurpose, vintage looking, glass jars with a screw top lid.
The glass jars come in so many sizes and styles, from cute little sauce sizes, to gigantic storage containers for an entire soup dinner.
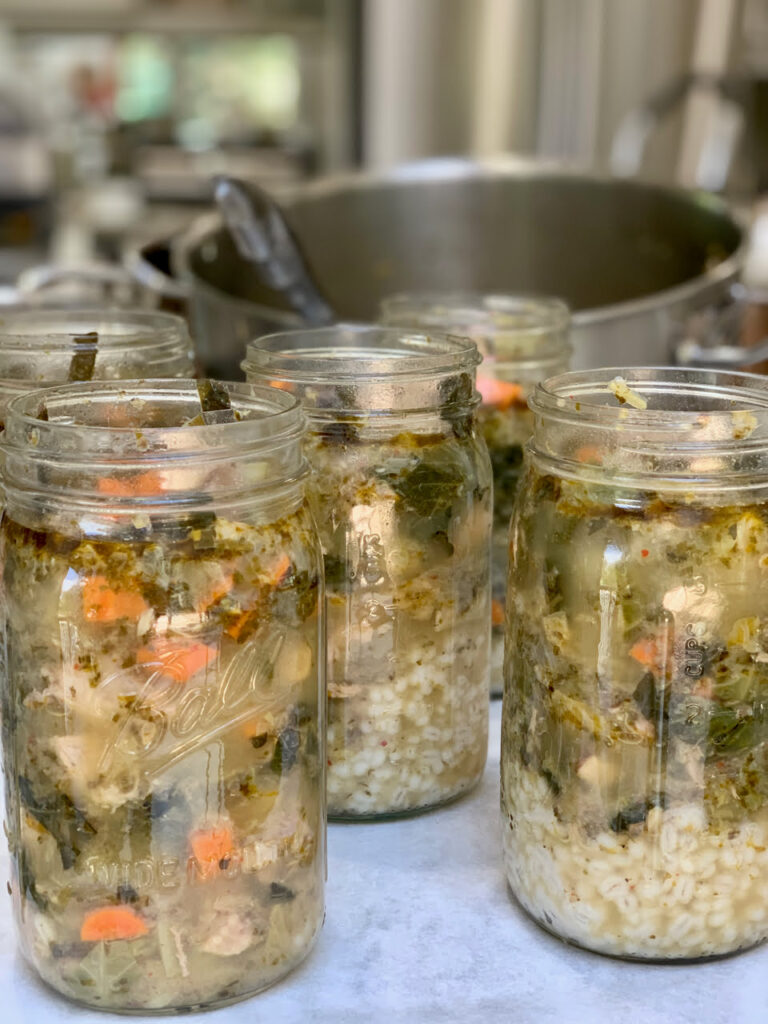
While I have made several videos for how to use just the lids (you will see below), I sometimes just used the jars.
Do you want to know what for?
Glasses! Yep, a casual, yet large dinner party at my home, I used the small glasses for wine and the larger glasses for water!
A little bit country, very vintage, and quite trending!
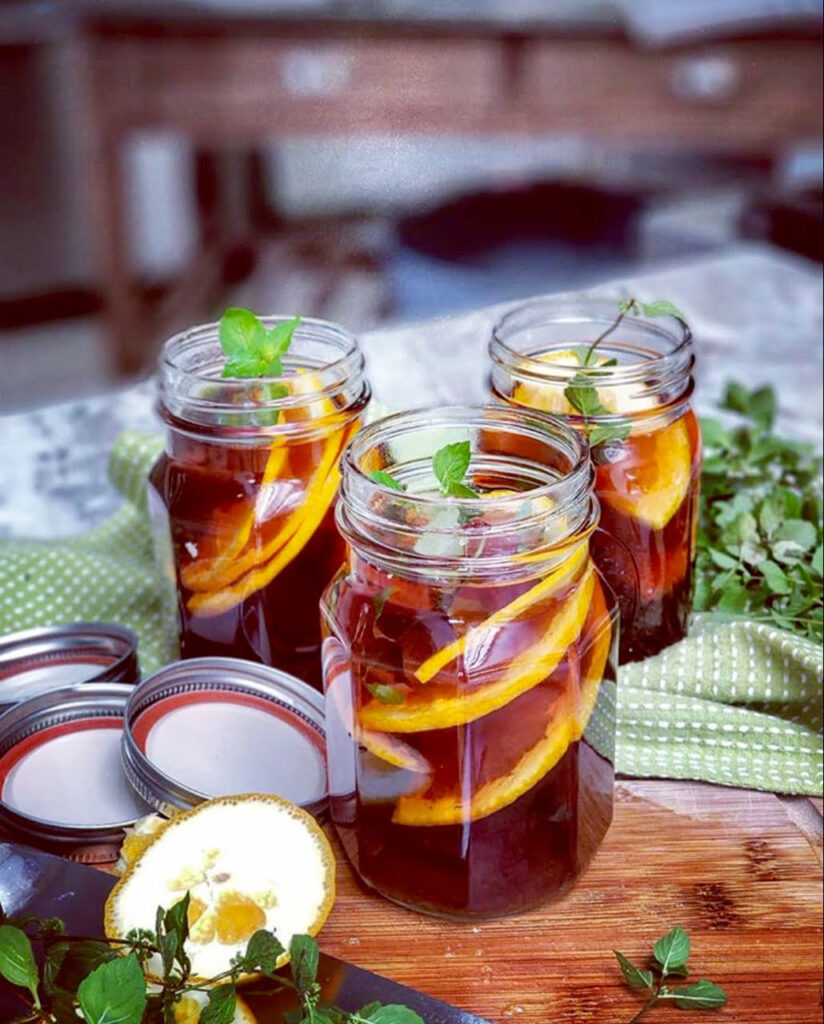
Repurposed Leftovers In Mason Jars To-Go
The rules are simple, ingredients unlimited, the options for a healthy lunch are endless, as are the places you can enjoy it.
Take them with you for Picnic, Boating, Beach or Playground time while watching the little ones play!
Those leftovers in the fridge, the vegetable bin we often ignore, and the pantry shelf of dry goods, are all going to become an easy way to make a great solution for busy weekdays.
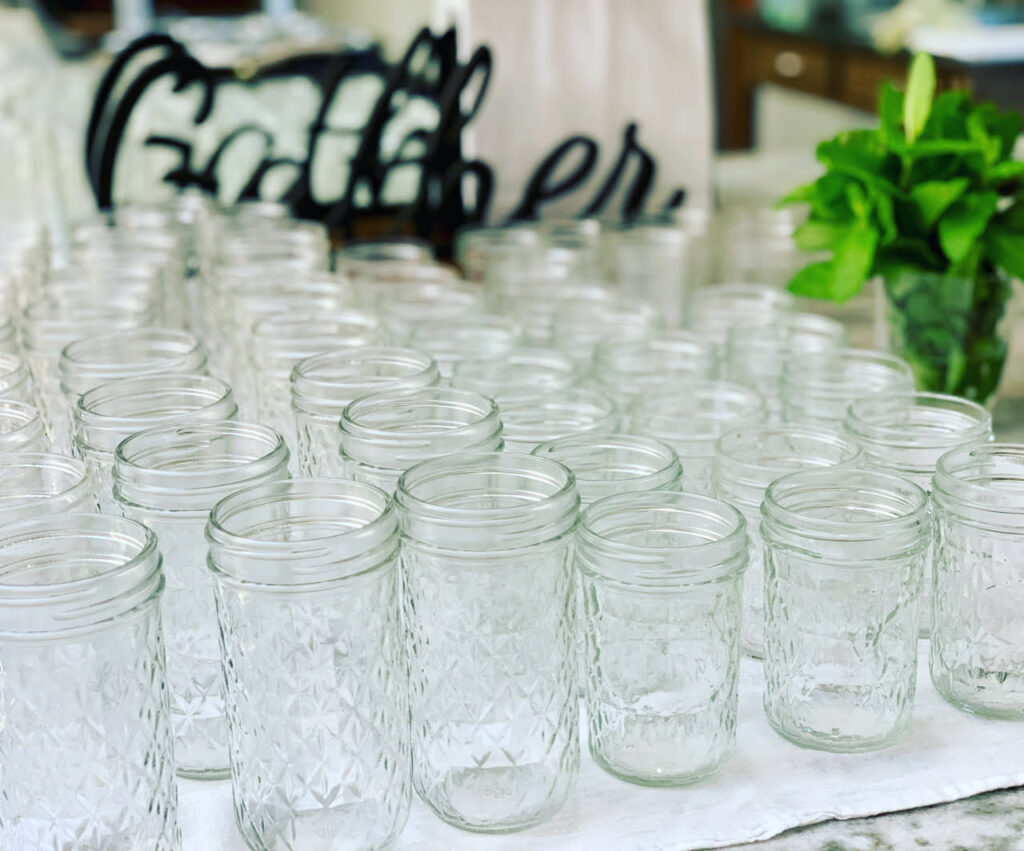
Old Is Now New With Mason Jars
Inexpensive glass canning jars, known as Ball or Mason jars are among the most popular to collect, unless you are a thrifty cook and save jars from grocery store items.
Back in the day, at the onset of spring and gardening season, women used to share their jar canning recipes.
Now few folks, grow their own food or do any canning.
No worries, today we are only concerned with those jars!
Mason Jar Lid Hacks
Oh, do I have a fabulous hack to share with you, for your baking tips, just using the lids from the mason jars!
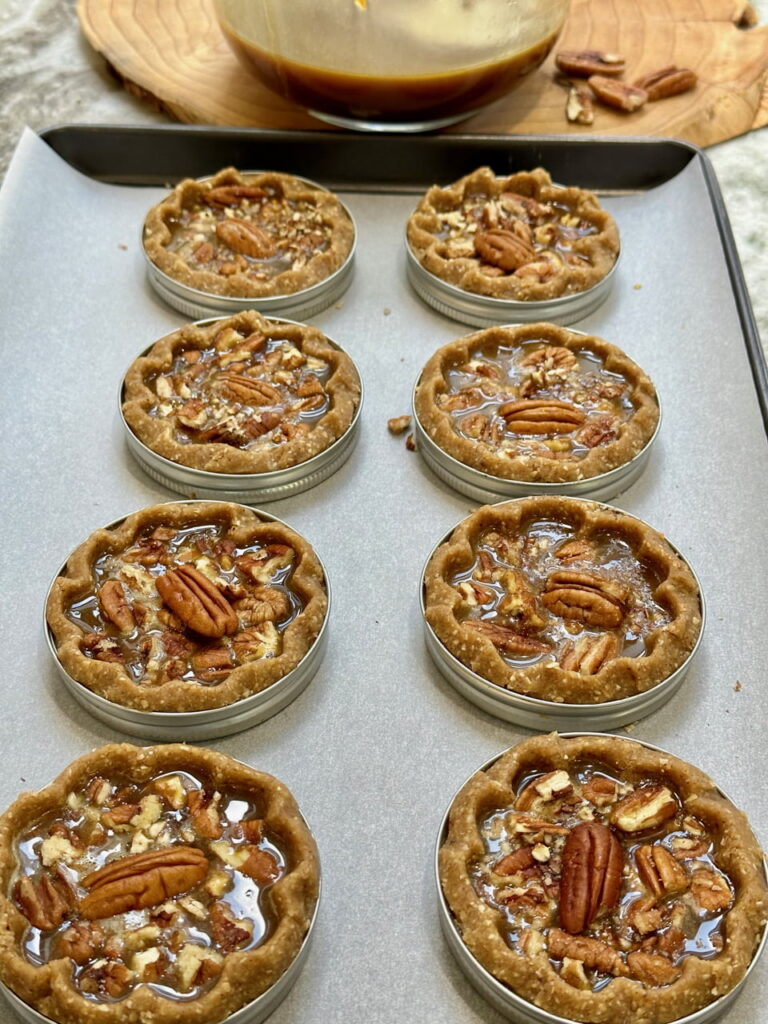
When removing the lids from the glass jars, you will notice the metal side with the logo on the top, tucked under the rim of the lid.
If you turn the lid over, you will notice a thin rubber ring that is designed to create an airtight seal.
Before using the lid for baking, you will want to flip the separate part of the lid, with the rubber rim around, so that it is securely pressed into the ring.
You will know you have done this correctly when you place your baked goods into the lid and you can see the logo looking up at you.
For an added tip when baking, use cooking spray and place the lids on a parchment paper lined cookie sheet.
In this way, the lids are easy to fill, place into the oven and remove.
‘MEAL PREP’ My New Favorite Phrase!
Imagine every healthy ingredient you know you should be eating regularly, already prepped in your healthy lunches, every single day!
Mason jar recipes are the best way to plan ahead for a busy week, busy life!
I can help you with a few quick ideas for meal planning that make for the best hearty ingredients to nourish you and your family.
This brilliant tip is perfect whether you take it to-go, or have it ready right there at home.
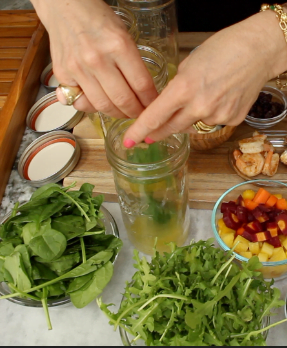
Steal An Hour On The Weekends So The Beginning Of The Week Will Be Easy
Emphatically, I’ve been where you are!
I was a single mom of four kids, with my own business, during those insanely busy years.
I knew a lot of people in my shoes, spent much of their work week playing catch-up.
But somehow, all those years ago, I discovered that ‘most important things’ were going to get my attention first.
Feeding my family quality, daily values, be it school lunches or even my own lunch, needed a plan.
The plan?
Steal an hour on the weekends prepping easy meals that would last all week.
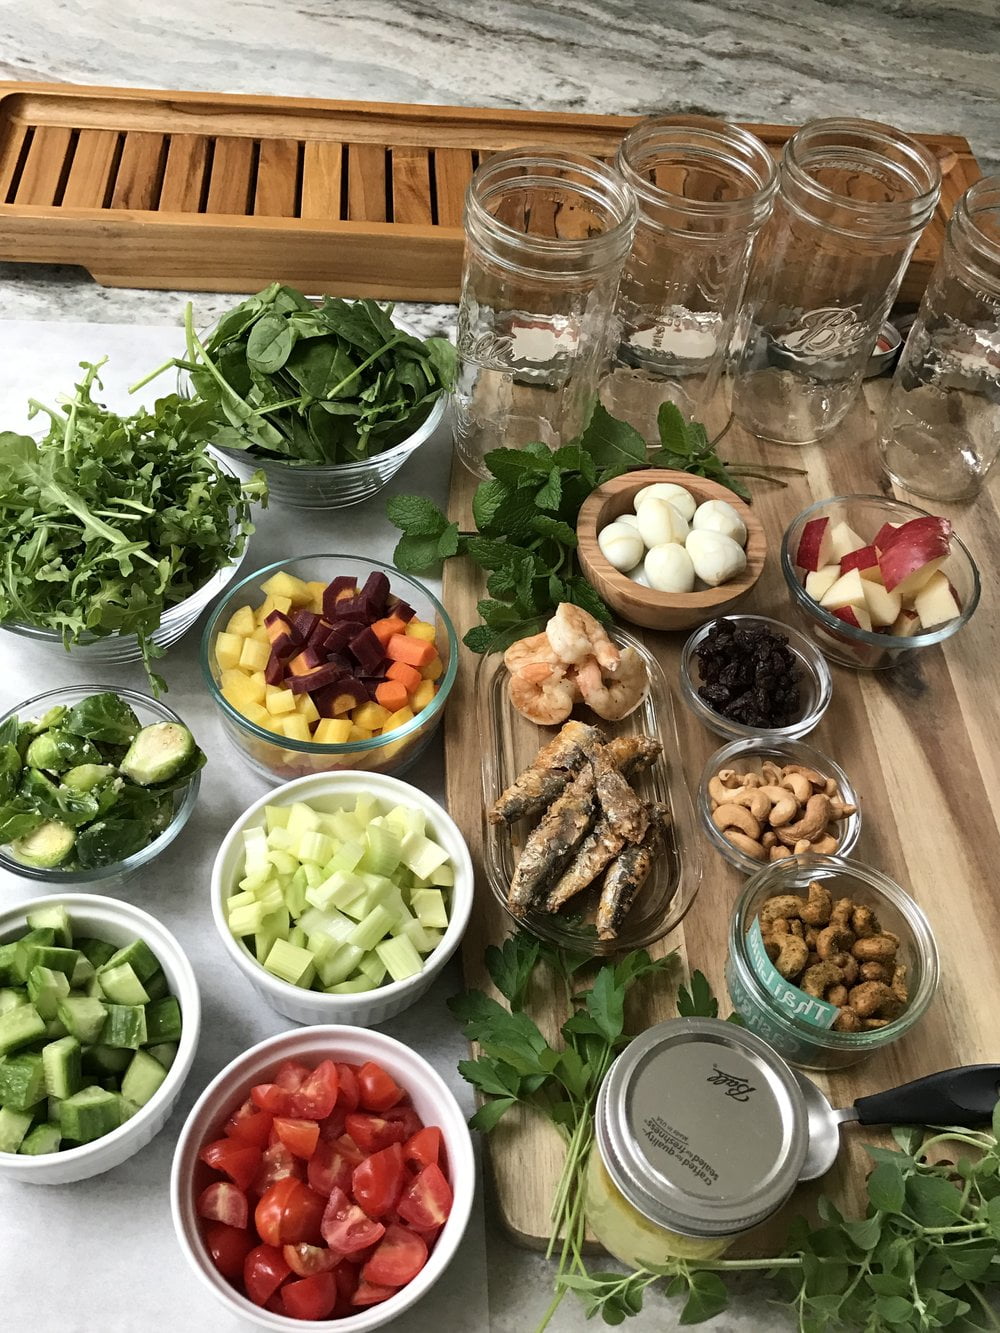
Things To Consider When Getting The Individual Salad Ingredients Ready To Prepare
There’s a trick and a proper order to making this work.
Naturally each component needs individual attention before you stack it all together in a canning jar.
So let’s talk about the prep aspect of ingredients you might want to choose, first.
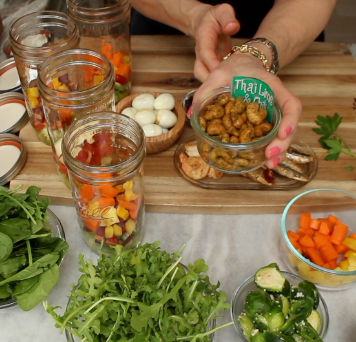
Carbs
Grains can include, rice, barley, quinoa or millet, just to name a few.
Can you imagine how delicious a Millet Tabbouleh, with chopped cucumber, tomatoes, some herbs or even a few pieces of last night’s leftover pieces of meat or beans would be for a healthy lunch?
A little leftover pasta made into a quick pasta salad with some protein added, popped in a Mason jar for tomorrow’s lunch, sounds darn good to me.
If any of these carbs are something you might want to add to your Mason jar lunches, then they either need to be leftover from dinner or cooked and ready to pack.
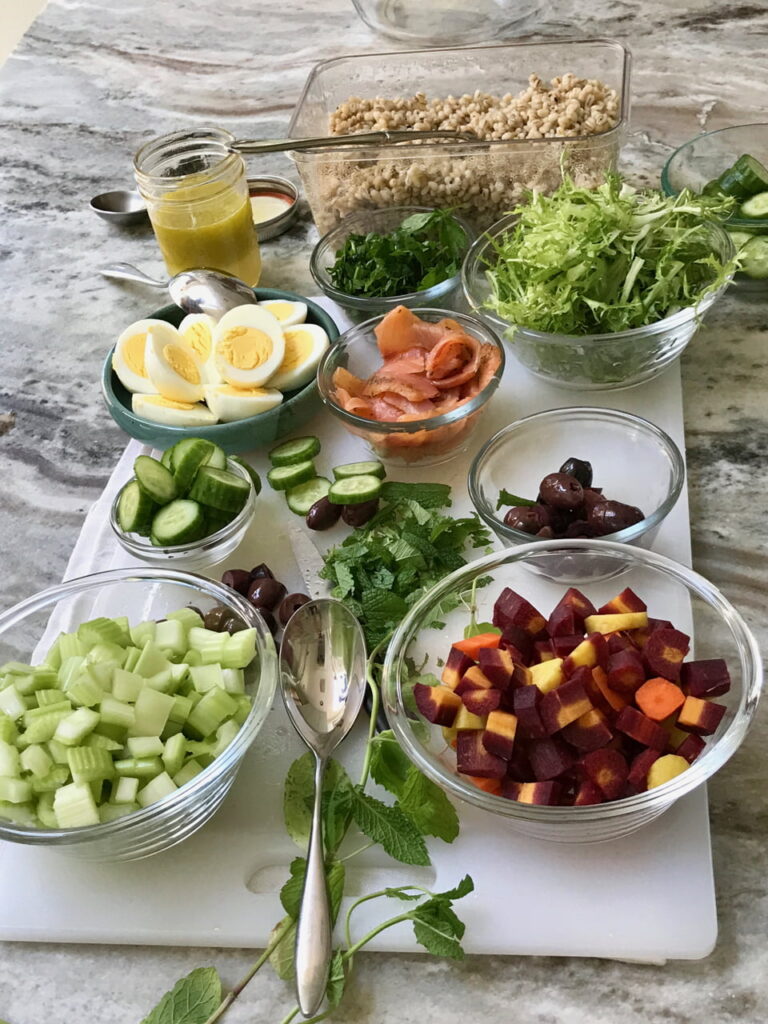
Proteins
How often do you end up with leftover meats or a few extra shrimp after dinner?
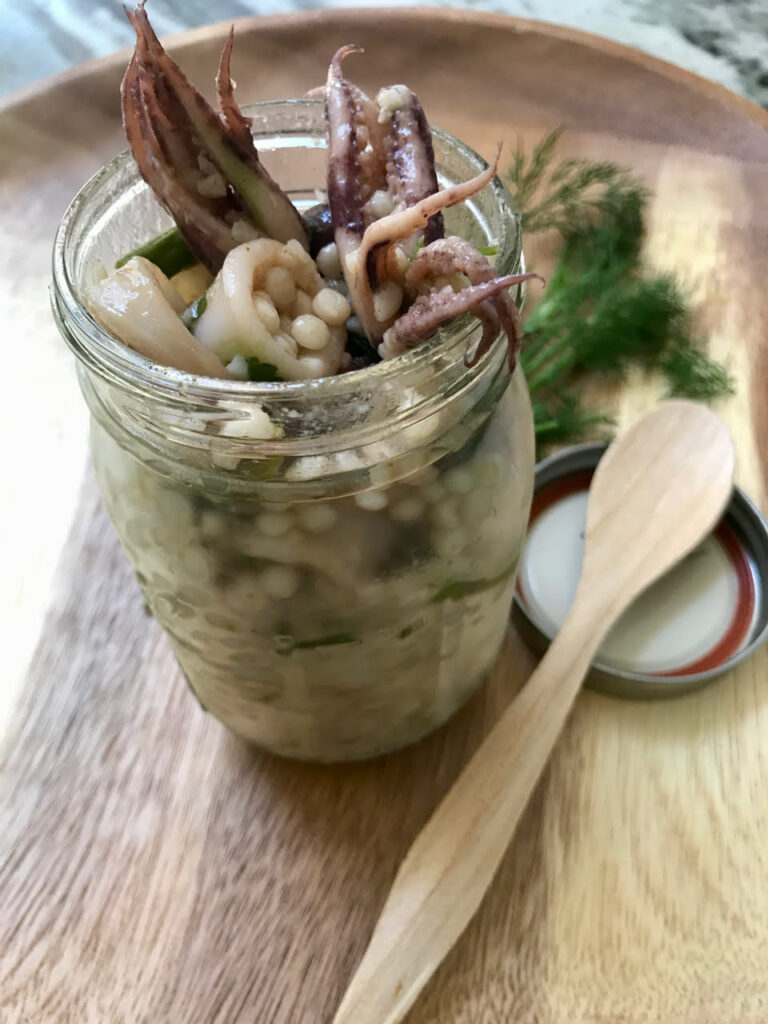
Could be that last chicken drumstick in the pan that no one ate, or the pot of beans you made too much of.
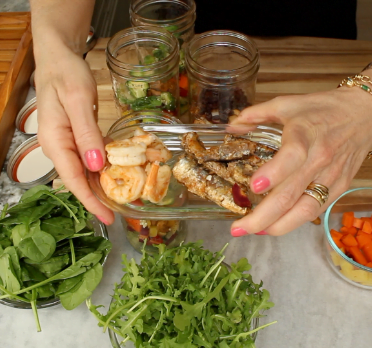
Didn’t cook last night? No worries, grab a rotisserie chicken, steamed shrimp or deconstructed sushi ingredients at your grocery store, and you’re all set!
By no means, don’t overlook pantry shelf canned seafood items.
There’s always cheese or tofu.
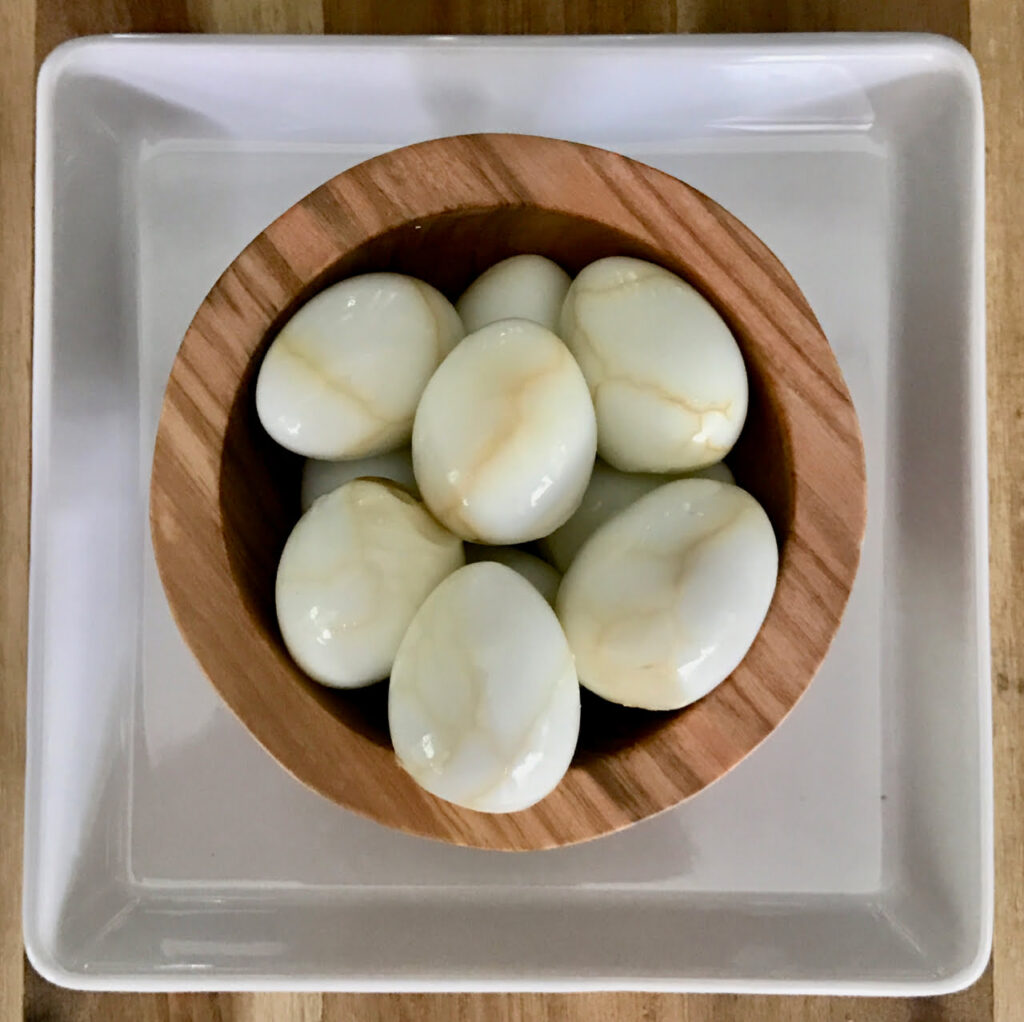
Certainly you can make time to boil a dozen eggs and have them ready to pop into a week of to-go lunches in a jar?
Veggies
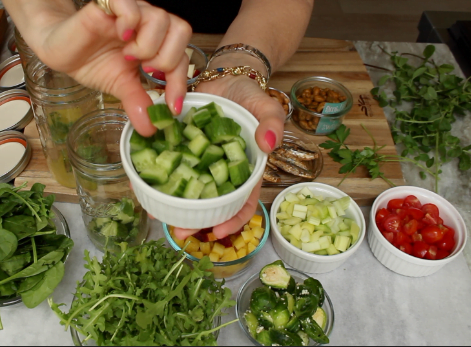
I’d bet you rarely eat veggies for lunch and yet tucked into a lunch jar, they cover a wide range to choose from.
For starters, there’s always celery and carrots that need to be washed and chopped.
Zucchini noodles that come in several types of squash as well as beets or carrots.
Most of these can be eaten raw unless you just prefer them quickly blanched.
Just takes a minute to blanch, drop into cold water, drain and dry.
How about the bag of sweet peas, corn, or other veggies you’ve got tucked away in the freezer?
Thaw, drain, dry and have them ready to pack.
Leafy Greens
Some of our favorite salad ingredients will come from the vast variety of leafy greens.
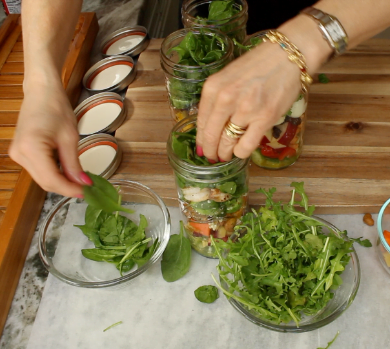
All of these, arugula, lettuce, spinach, micro-greens and any other leafy veggies you like, need a quick wash, drain and dry.
These items go into the jars last, on top, and so we don’t want them dripping water on the other ingredients.
As long as all your ingredients have been prepared properly before layering into the mason jars, you will not have a soggy salad!
Fruits
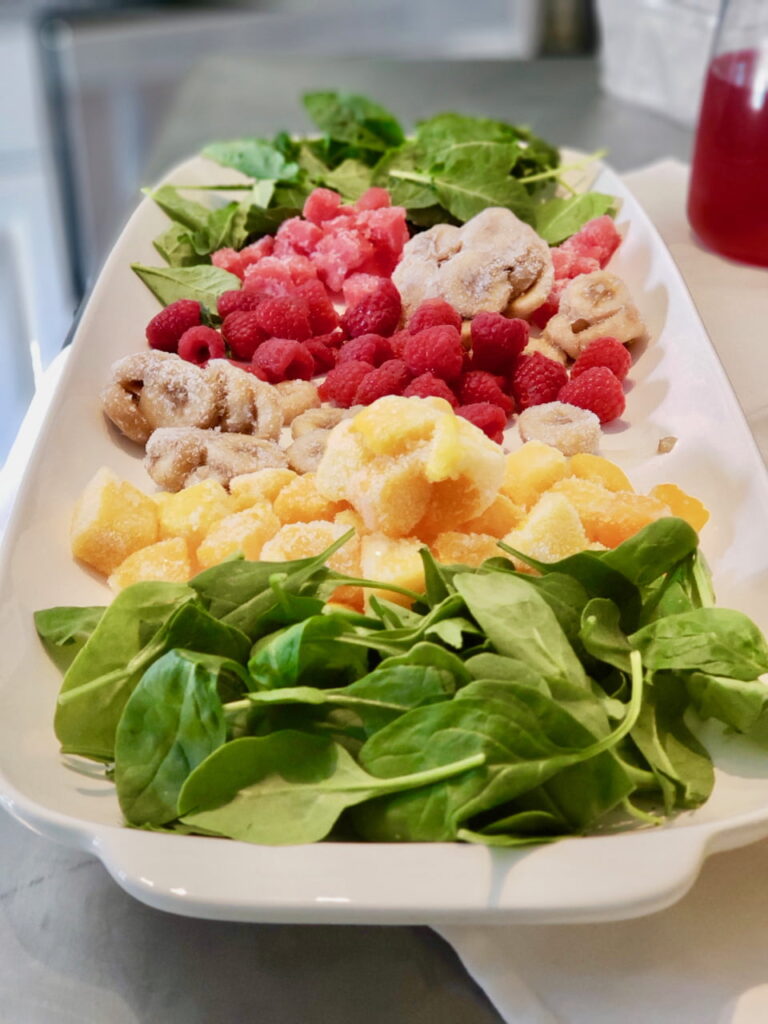
Quite a variety of fruits can be added, such as apples, pears, blueberries, and other fruits, they just need to be washed, and chopped if large.
Adding fruits instead of juicy veggies (like tomatoes), are a great way to get your vitamin C in a lunch, however choose one or the other, since the juices from a tomato or cucumber won’t taste as pleasant with an apple or pear.
Salad Dressing
Of course, you can choose a salad dressing from a grocery store, but since everything else going into your mason jar lunch is healthy, why not keep salad dressings healthy too!
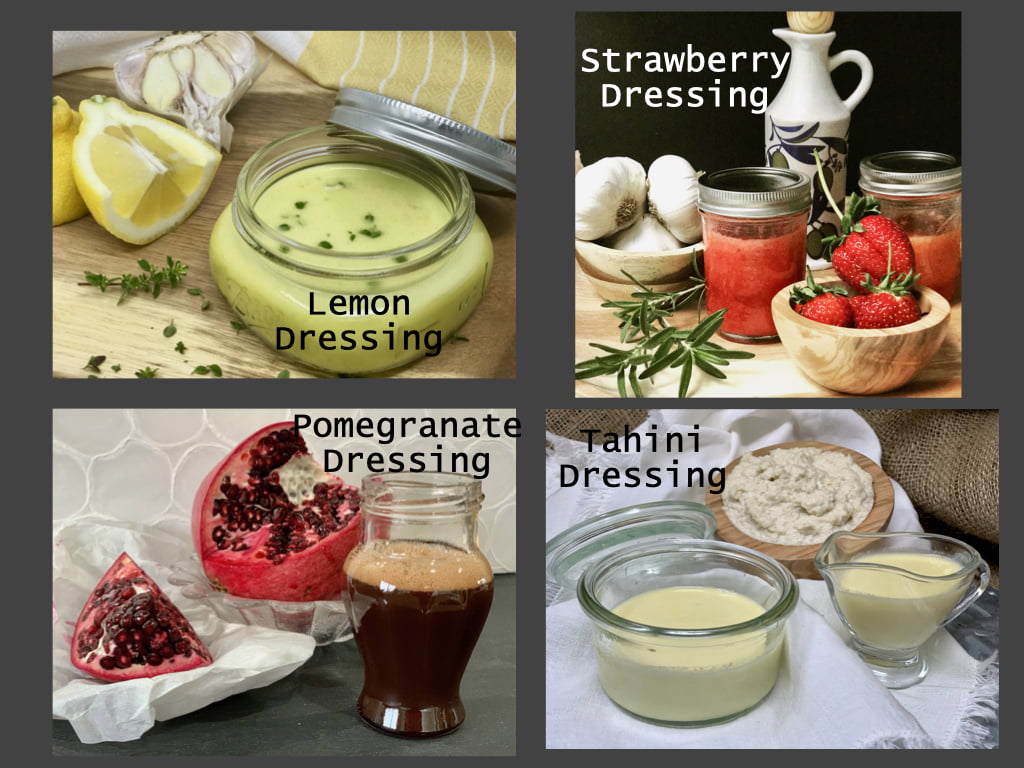
Here are a few of my favorite, easy to puree in your blender, salad dressings to use in your fabulous lunches.
- Mediterranean Lemon Salad Dressing – with refreshing freshly squeezed lemons, olive oil, garlic and herbs.
- Pomegranate Salad Dressing – sweet and sour, tangy and spicy flavors with sumac, garlic and pomegranate molasses.
- Tahini Salad Dressing – made with nutty sesame seed paste, known as tahini, lemons, garlic and olive oil.
- Strawberry Vinaigrette – an emulsification made with fresh strawberries, chili flakes and olive oil.
Nobody wants a soggy salad.
So, with a few easy steps in preparing the ingredients, we are going to have great mason jar meals!
Here’s How You Prepare A Salad In A Mason Jar For The Whole Work Week!
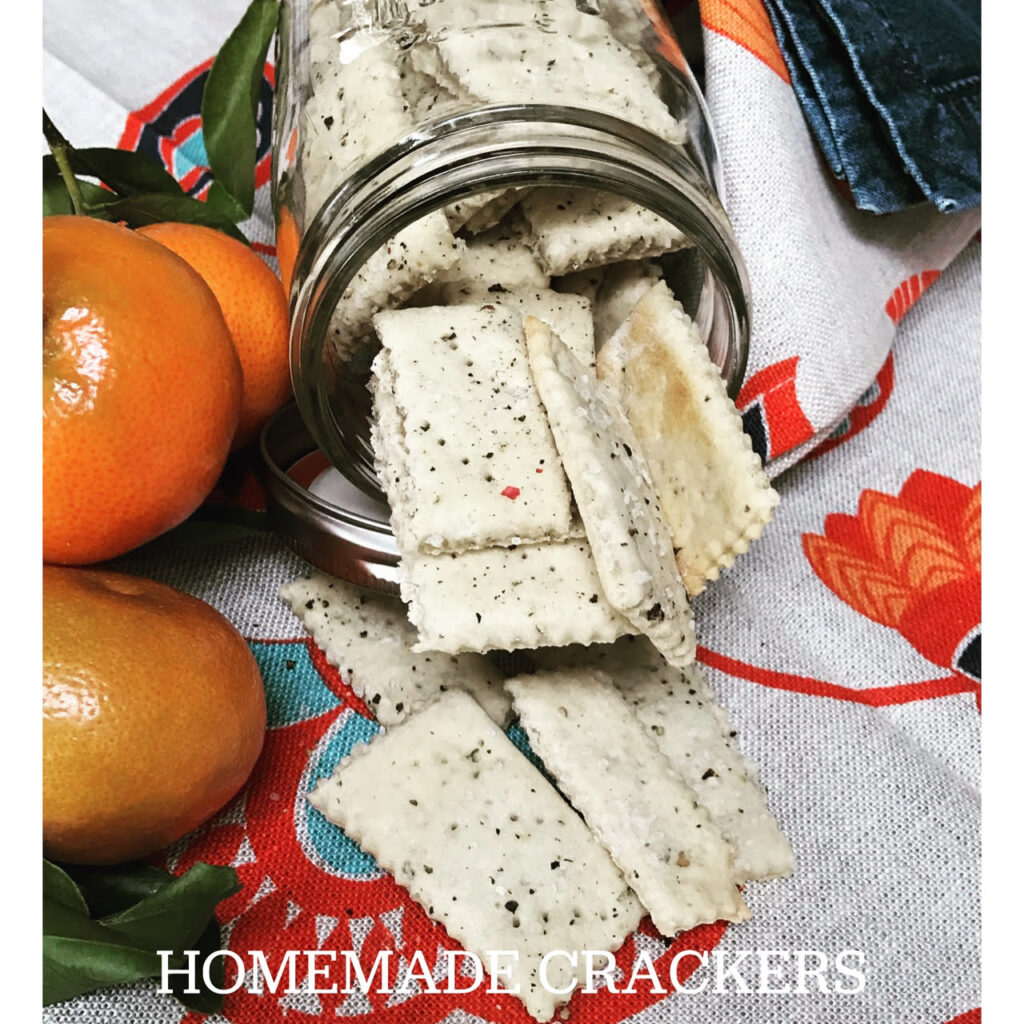
While a cute Mason jar will work for meals such as overnight oats, sweet treats, or even to transport crackers, pita or tortilla chips to go with your lunch, a more substantial jar is needed for salads in a Mason jar to-go.
First things first, you will want to choose the Mason jars that you plan to use.
I would suggest using 3-cup capacity for adults, so there is plenty room for the ingredients not to be smashed together.
A pint jar for kids, and always the wide mouth jars, as they are easier for preparation, eating and washing.
The tip to remember each time you pack these meals (just a stolen moment on a weekend), is simple:
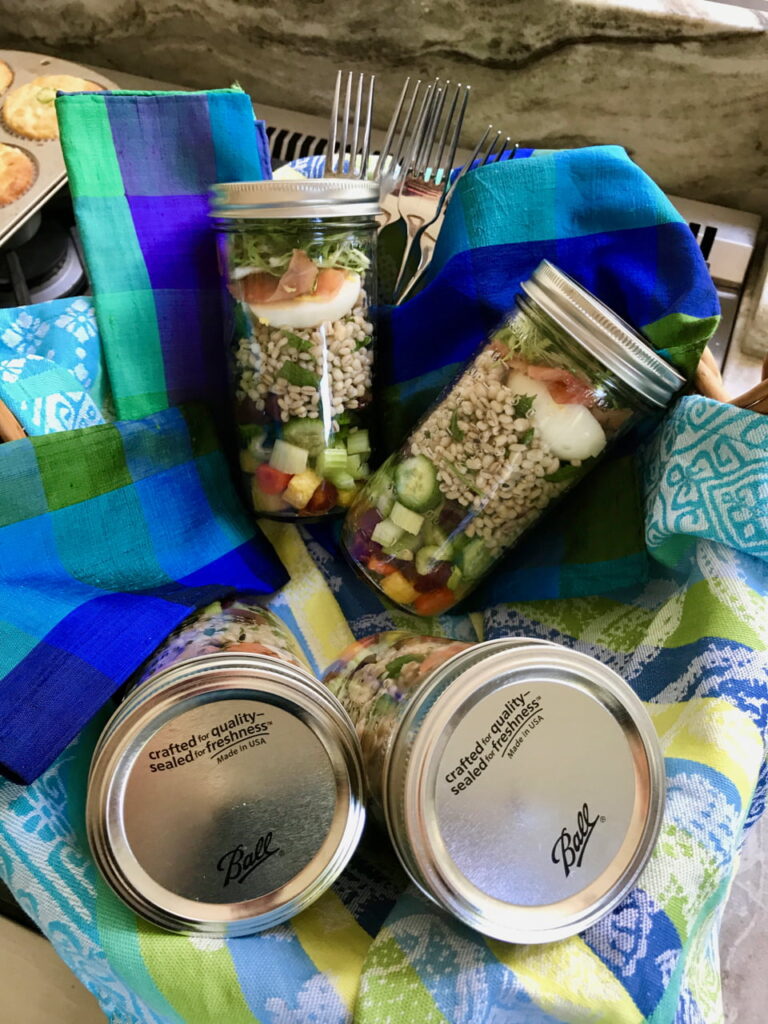
Step 1 – The dressing always goes on the bottom of the jar first.
Step 2 – Next in is the grains and proteins chosen. If using hard boiled eggs, quarter a whole egg and slide them in. If using quail eggs, leave them whole.
Step 3 – Cheeses, nuts go in next.
Step 4 – Saving the more delicate ingredients, such as leafy greens, for the top.
Step 5 – Put the lids on, place them in the fridge and your busy days just got easier and healthier!
Tip 1 – If transporting your healthy meal jars, an insulated pouch with a frozen gel pouch will keep these fresh until ready to eat.
Tip 2 – When the time of day arrives to enjoy your favorite salad, simply turn it upside down a few times (lid still on), allowing the salad dressing and veggie juices to run through the other ingredients, open the jars and your meal is ready to eat.
Calling All Grandmas – Here’s A Perfect Way To Help Your Young Families Out During The Busy School Year!
Busy young families need all the help they can get, especially during the busy school year.
While we grandmas may still have a career we are busy with too, we certainly have a bit more time ‘alone’ in the kitchen!
Make these to-go healthy salads in Mason jars for your young families, drop them off late on Sunday and retrieve the washed jars on Friday!
When the kids need a lunch to-go, a meal to eat before sports, or afterschool hungry tummies, this is an idea way to send over some love!
Oh, and grandmas, be sure to check out my Sneaky Meatballs, with hidden veggies inside, the perfect thing to put in these jars!
Ingredients Needed
- Salad Dressing – Homemade is best and easy, so take a look at the options I have provided above.
- Veggies – raw or cooked, leftovers or prepared specifically for the jars.
- Grains or pasta , cooked – a variety of cooked grains can add substance to the lunch, along with a variety of cooked pasta options.
- Nuts – if you don’t have nut allergies, nuts are an added measure of protein and texture.
- Protein options – so many options, from leftovers to boiled eggs, canned fish to freshly steamed.
- Leafy greens – anything from lettuce to cabbage, raw spinach to micro greens.
- Fruit, fresh or dried – fresh fruit is great if you leave off juicy veggies, such as tomatoes or cucumbers, and dried fruits offer a taste of sweet, texture and nutrients.
- Cheese options – both dairy and non-dairy options for cheeses.
Equipment Needed
- Cutting board
- Chopping knife
- Mason Jars with lids
- Measuring cup
- Measuring spoons
- Saucepan – for boiling eggs
- Refrigerator
- Imagination!
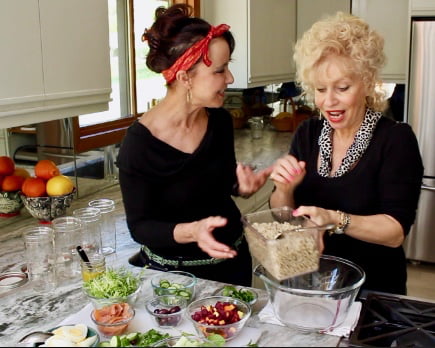
Healthy Salads In A Mason Jar To-Go
Equipment
- 5 Mason jars with lids sizes are your choice
- Cutting board and knife
Ingredients
- 1/3 cup Salad dressing homemade if possible
- 1 1/4 cup Veggies, cooked or raw chopped
- 1 1/4 cup Cooked grains or pasta your choice
- 30-40 Nuts depending on size
- 1 1/2 cups Proteins, cooked, canned or 5 boiled eggs
- 5 cups Leafy veggies
- 1 1/4 cup Fruit optional
- 3/4 cup Shredded cheese optional
Instructions
- First things first, you will want to choose the Mason jars that you plan to use. I would suggest using 3-cup capacity for adults, a pint jar for kids and always the wide mouth jars, as they are easier for preparation, eating and washing.
- Once each of your favorite ingredients have been chosen, cooked (if needed), washed and dried, chopped or any other preparation before assembling the Mason jar lunches, we are ready to make your salad jars.
- Always remember to put wet ingredients on the bottom of the jar. Putting the salad dressing in first, followed by any crunchy veggies or juicy fruits. Don't shake the jar once you begin to layer. We want the juices to remain on the bottom until ready to eat.
- Next in is the grains and proteins chosen. If using hard boiled eggs, quarter a whole egg and slide them in. If using quail eggs, leave them whole.
- Cheeses, nuts go in next saving the more delicate ingredients, such as leafy greens, for the top.
- Put the lids on, place them in the fridge and your busy days just got easier and healthier!
- If transporting your healthy meal jars, an insulated pouch with a frozen gel pouch will keep these fresh until ready to eat. When the time of day arrives to enjoy your favorite salad, simply turn it upside down a few times, allowing the salad dressing and veggie juices to run through the other ingredients, open the jars and your meal is ready to eat.
Video
Healthy Salads In A Mason Jar To-Go

