
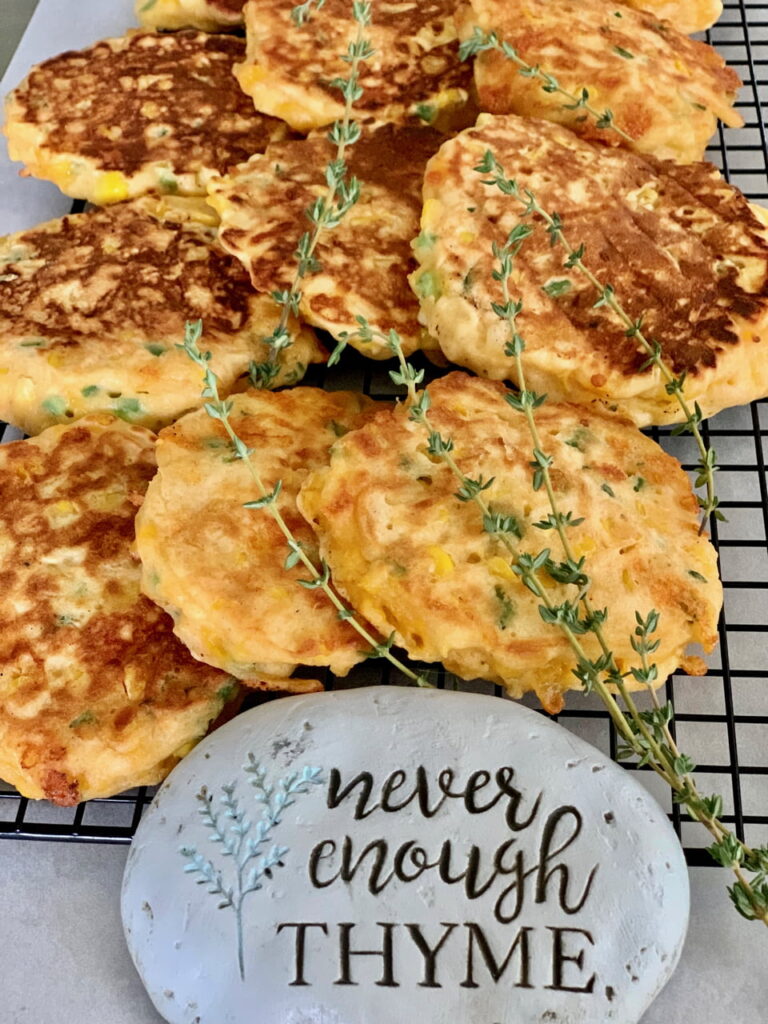
These Harvest Thyme Corn Fritters are made with fresh sweet corn, thyme, and Parmesan for crispy golden bites, perfect alongside summer, and autumn meals.
Harvest Thyme Corn Fritters
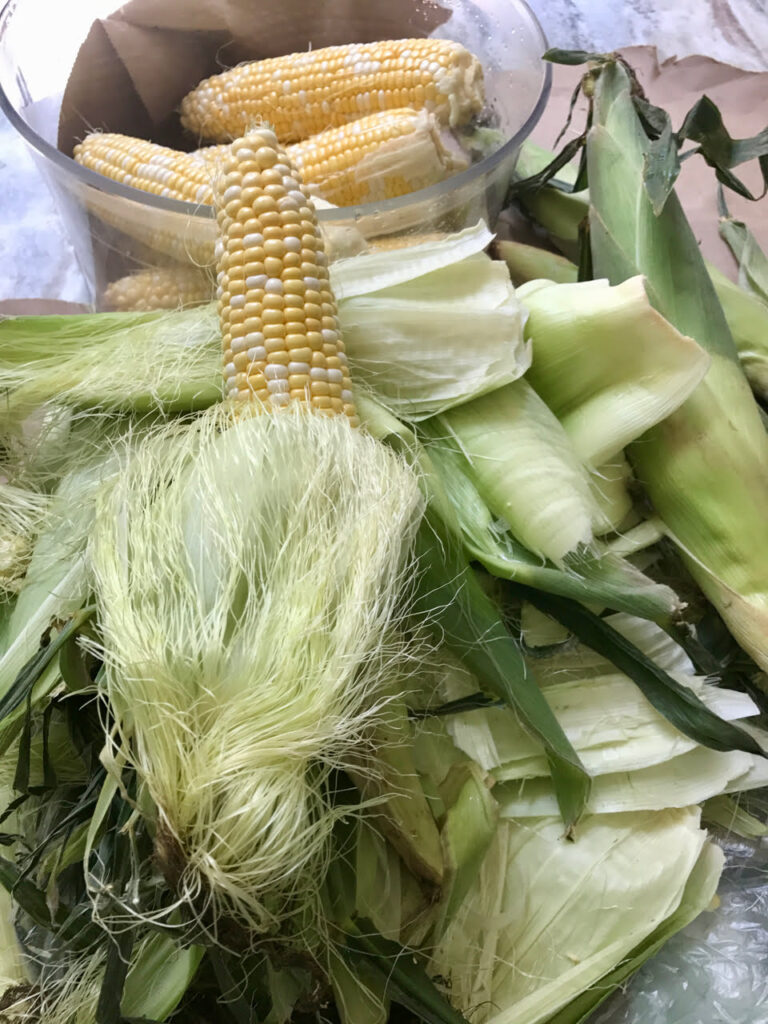
The cornfields around my neighborhood are beginning to disappear, row by row, as combines roll through to gather the season’s harvest. Watching those fields change always reminds me that fresh sweet corn has a short but glorious season, and it’s worth celebrating while it lasts.
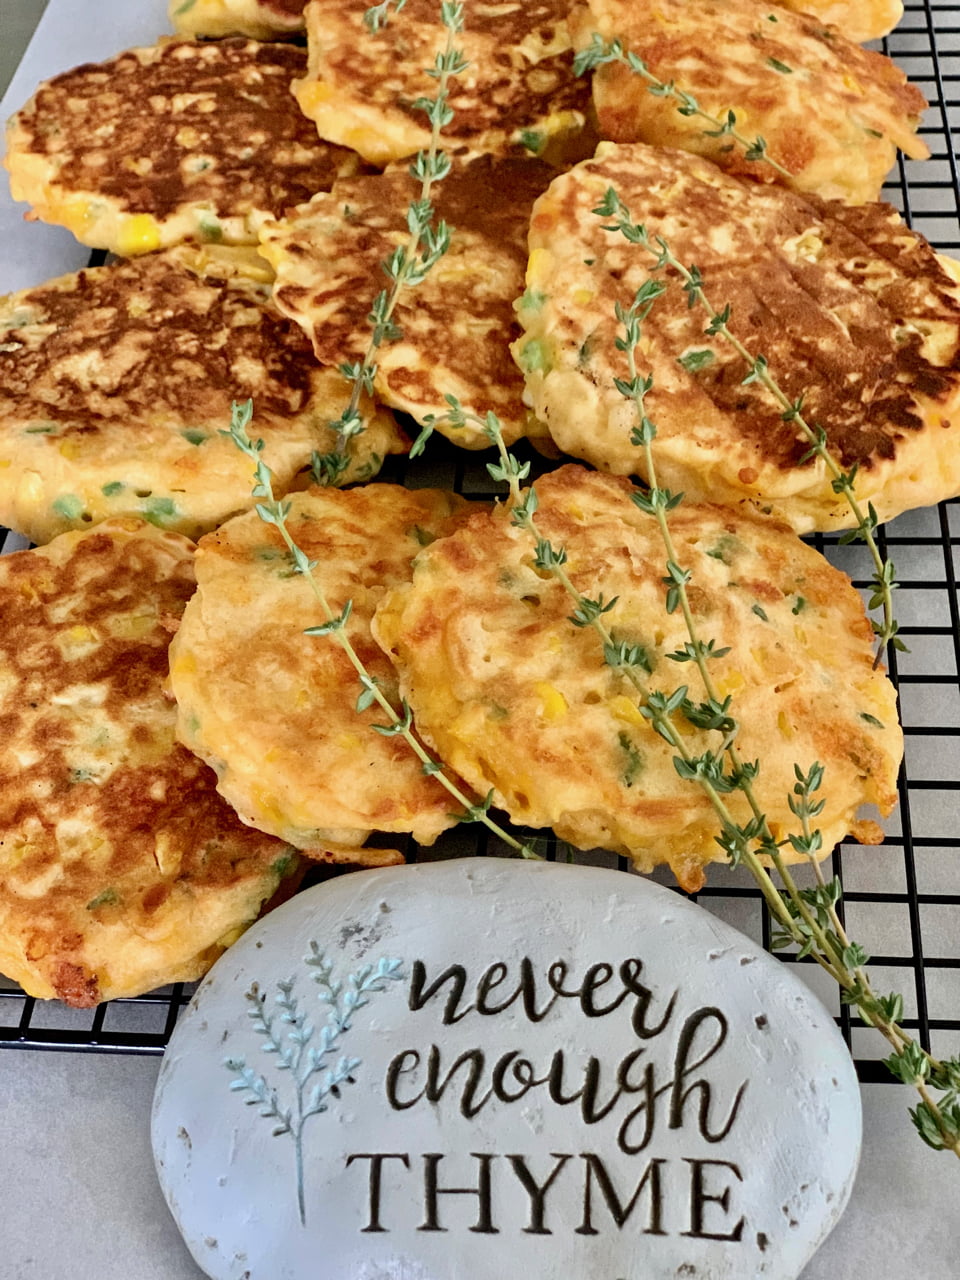
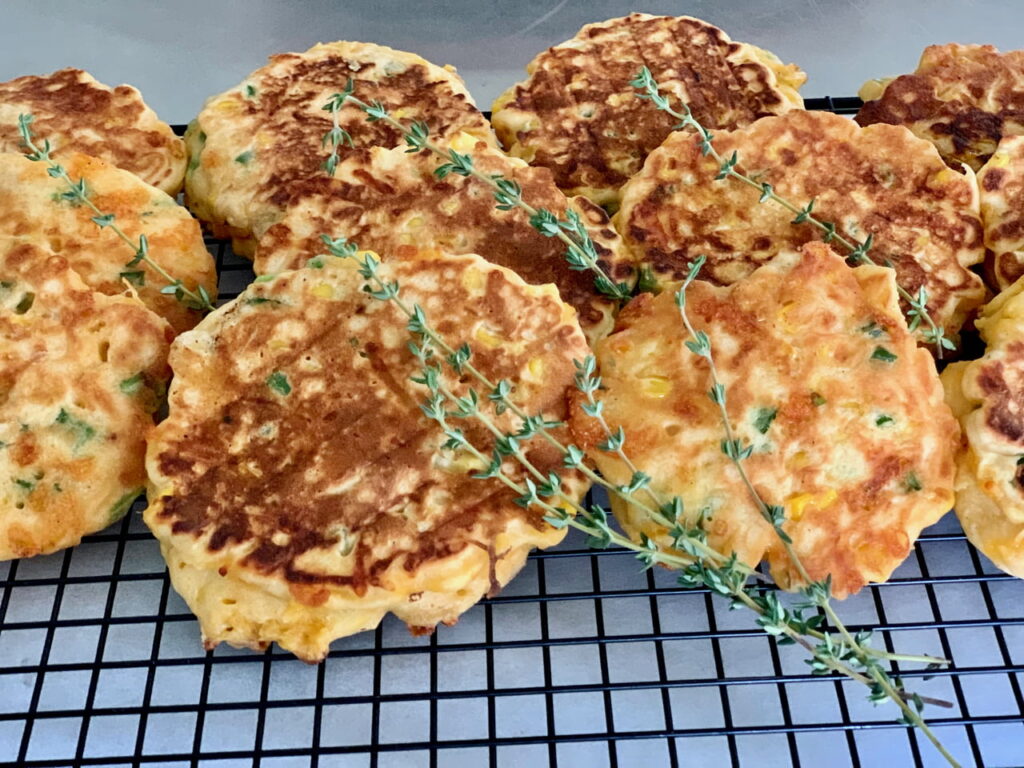
These Corn Fritters are one of my favorite ways to enjoy that harvest. Fresh kernels stay sweet and juicy inside a light batter flavored with fresh thyme and Parmesan cheese, while the outside turns beautifully crisp and golden in the skillet. They make an easy side dish for November’s turkey recipes, seafood, burgers, roasted vegetables, or a bowl of homemade soup when cooler weather arrives.
A Taste of Harvest in Every Bite
Whether you’re picking up corn from a local farm stand or harvesting it from your own garden, these Corn Fritters bring together the best flavors of late summer and early autumn in every delicious bite.
Why You’ll Love These Corn Fritters
Crispy Outside, Tender Inside – The contrast between the crunchy exterior and juicy sweet corn kernels makes every bite irresistible.
Fresh Herbs Make the Difference – Fresh thyme adds an earthy flavor that balances the sweetness of the corn without overpowering it.
Perfect from Summer Through Fall – Serve them with backyard cookouts in August or alongside hearty soups and stews well into autumn.
Ingredients and Tools You’ll Need
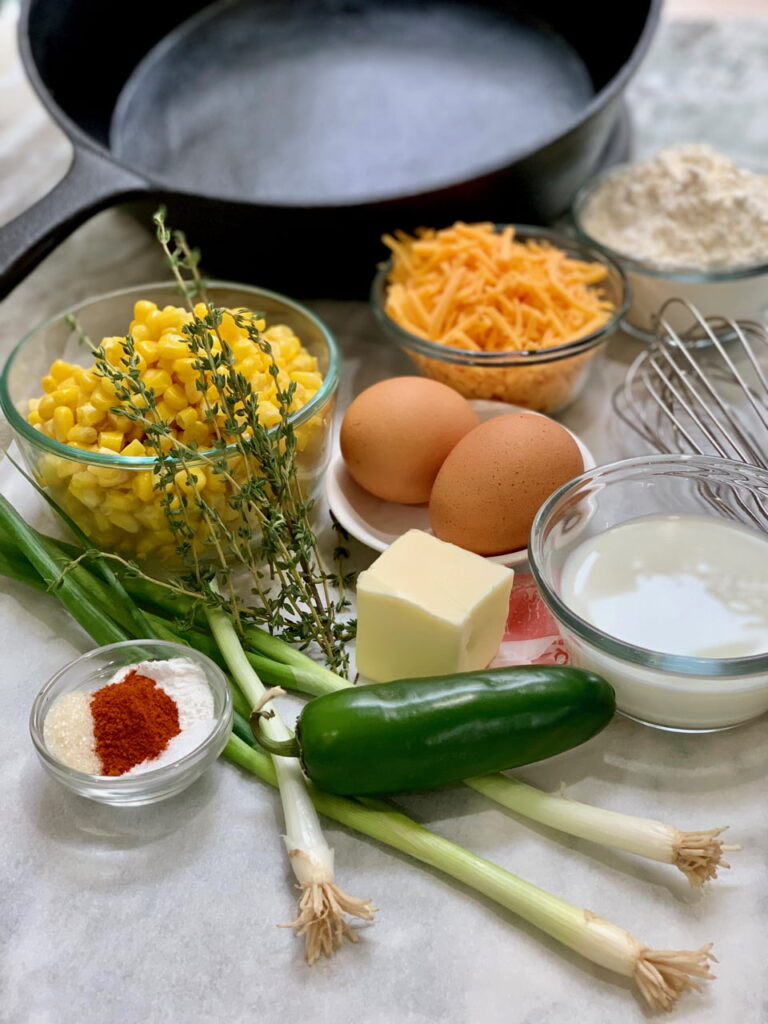
Corn Fritters Don’t Need Many Ingredients Just The Right Ones
Fresh Sweet Corn – Fresh corn is the star of this recipe. It provides natural sweetness, juicy texture, and little bursts of flavor throughout every fritter. Freshly cut kernels work best, but frozen corn can be substituted when fresh isn’t available.
Fresh Thyme – Fresh thyme gives these fritters a subtle herbal aroma that pairs beautifully with sweet corn and Parmesan.
Parmesan Cheese – Parmesan adds savory richness while helping the fritters brown into a beautifully crisp crust.
Flour – A small amount of flour creates structure without making the fritters heavy.
Eggs – Eggs bind everything together and help create a tender interior.
Baking Powder – This provides just enough lift to keep the fritters light instead of dense.
Milk – Milk loosens the batter into the perfect consistency for frying.
Salt and Pepper – Simple seasoning allows the fresh corn to remain the star.
Butter or Oil – Used for pan frying until golden and crisp.
Optional Variations for Corn Fritters
Add a Little Heat – Mix in finely diced jalapeño or a pinch of cayenne pepper.
More Garden Herbs – Try basil, chives, parsley, or dill in place of some of the thyme.
Southwestern Style – Add smoked paprika, green onions, and a little cheddar cheese.
Equipment To Make These Fritters Easily
Large Mixing Bowl – Allows the batter to come together evenly without overmixing.
Sharp Chef’s Knife – Makes removing fresh corn kernels from the cob quick and easy.
Measuring Cups and Spoons – Keeps the batter balanced for consistent results.
Large Skillet – A heavy skillet distributes heat evenly for perfectly browned fritters.
Flexible Spatula – Makes flipping easier while keeping the fritters intact.
Cooling Rack – Lets excess oil drain while preserving the crispy exterior.
How to Make Corn Fritters
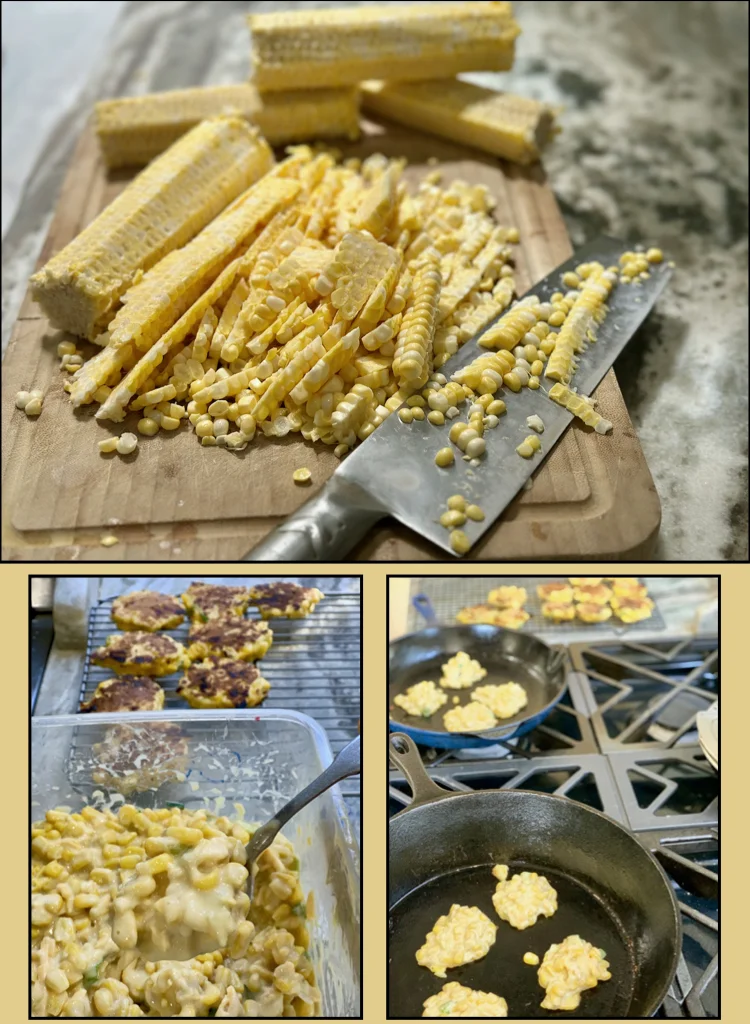
Step 1: Prepare the Corn – Cut the kernels from fresh ears of corn. If using frozen corn, thaw and pat dry to remove excess moisture.
Step 2: Mix the Dry Ingredients – Combine the flour, baking powder, Parmesan, thyme, salt, and pepper in a large bowl.
Step 3: Add the Wet Ingredients – Whisk together the eggs and milk, then stir them into the dry ingredients until just combined.
Step 4: Fold in the Corn – Gently fold the corn kernels into the batter so they’re evenly distributed without crushing them.
Step 5: Heat the Skillet – Warm butter or oil over medium heat until shimmering but not smoking.
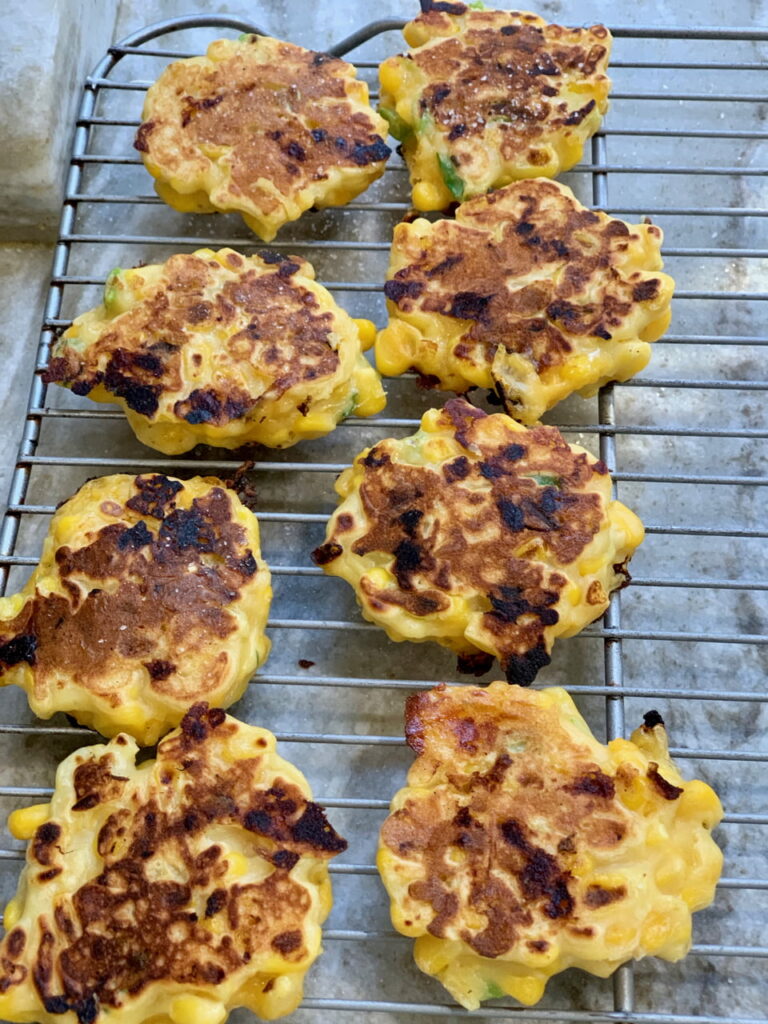
Step 6: Cook Until Golden – Drop spoonfuls of batter into the skillet and flatten slightly. Cook until the bottoms are golden brown before carefully flipping to brown the second side.
Step 7: Drain and Serve – Transfer to a cooling rack or paper towels and serve immediately while they’re hot and crispy.
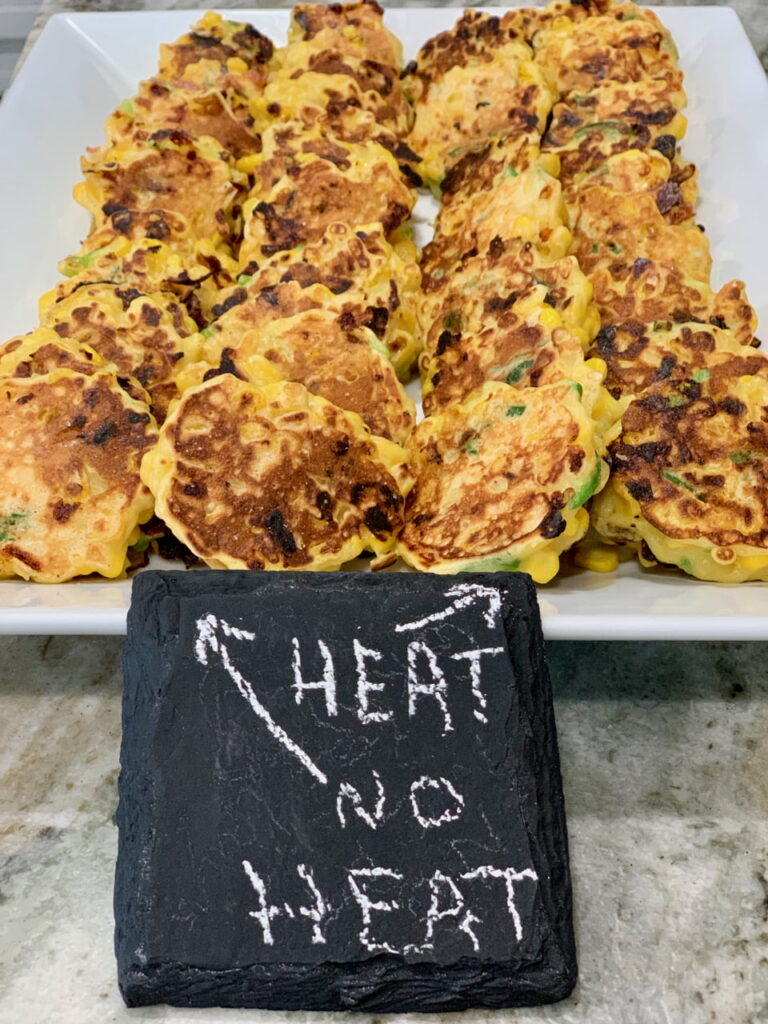
Tips for Perfect Corn Fritters
Don’t Over-mix – A light batter keeps the fritters tender.
Dry Frozen Corn Well – Too much moisture prevents crisp edges.
Medium Heat Works Best – High heat browns the outside before the inside cooks through.
Serve Immediately – Corn fritters are at their crispiest fresh from the skillet.
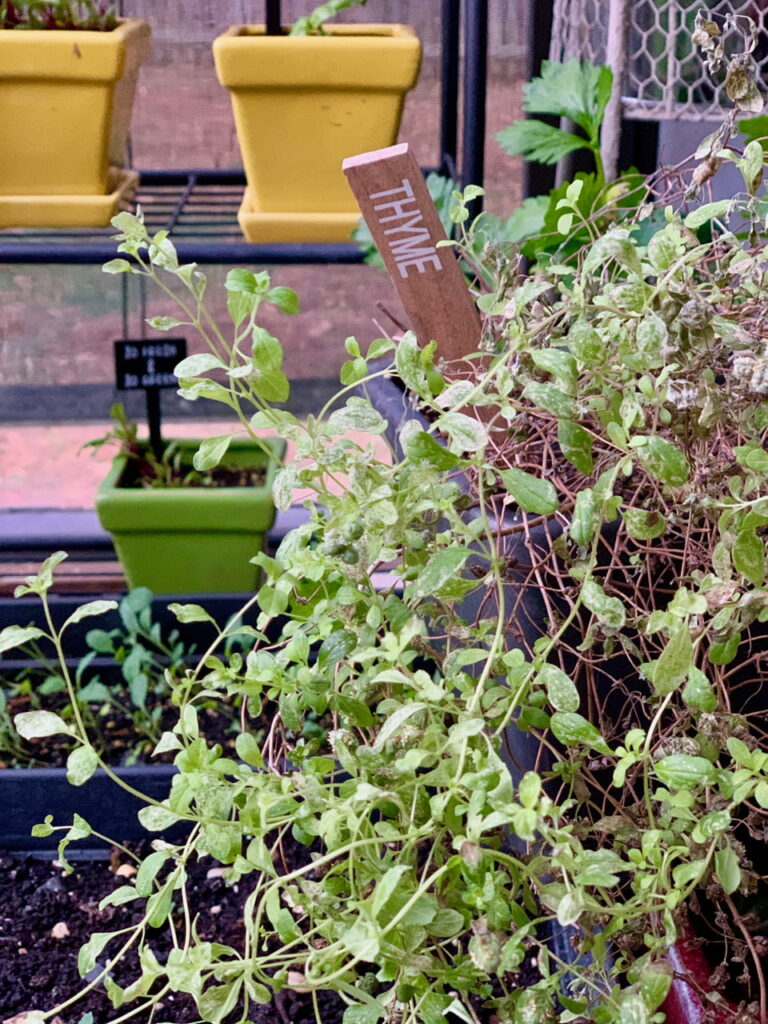
From My Garden
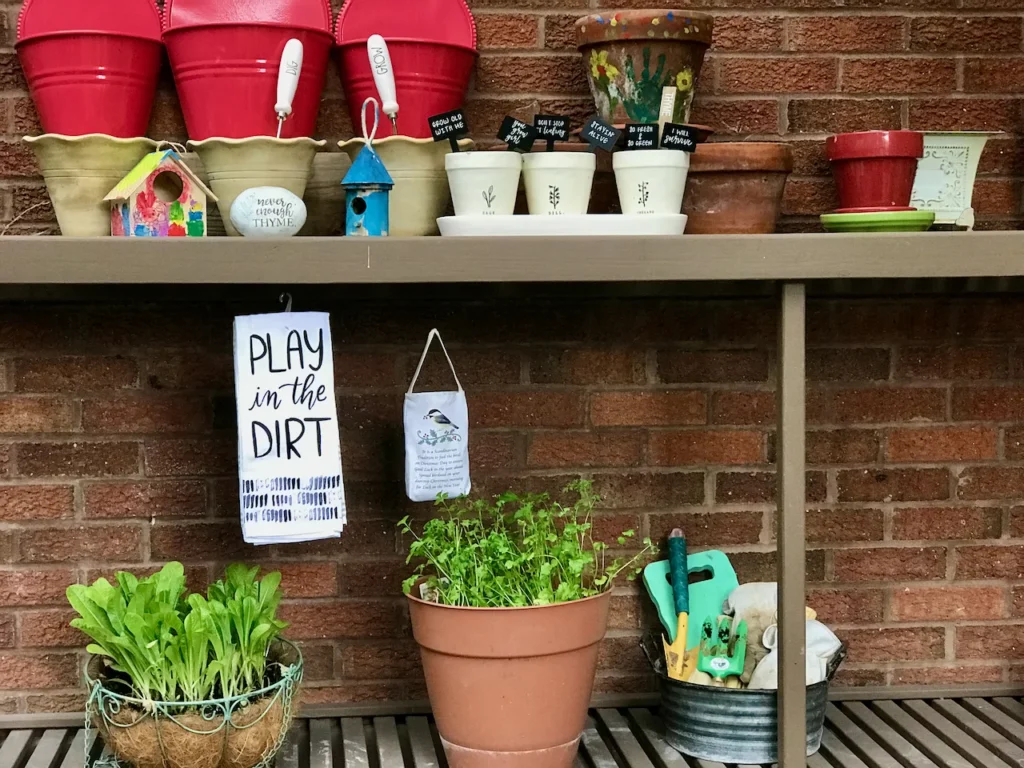
One of my favorite signs that summer is winding down is watching the nearby cornfields being harvested. Even though I don’t grow large fields of corn myself, I love buying freshly picked ears from local farms while they’re at their sweetest. Garden herbs like fresh thyme add another layer of seasonal flavor, reminding me that the best recipes often come from what’s growing close to home. It’s exactly the philosophy behind my cookbook, Dirt to Dish, where every harvest inspires another story from the kitchen.
Frequently Asked Questions About Corn Fritters
Can I use frozen corn? Yes. Thaw it completely and pat it dry before adding it to the batter.
Can I make the batter ahead? You can prepare the batter several hours ahead and refrigerate it until ready to cook.
Why are my fritters falling apart? The batter may be too wet. Add a little more flour until it holds together.
Can I bake them instead? Yes, although they won’t become quite as crispy as pan-fried fritters.
What do Corn Fritters go with? They’re wonderful alongside grilled chicken, seafood, burgers, barbecue, tomato soup, chili, or fresh salads.
Can leftovers be reheated? Absolutely. Reheat them in an air fryer or hot oven for the best texture.
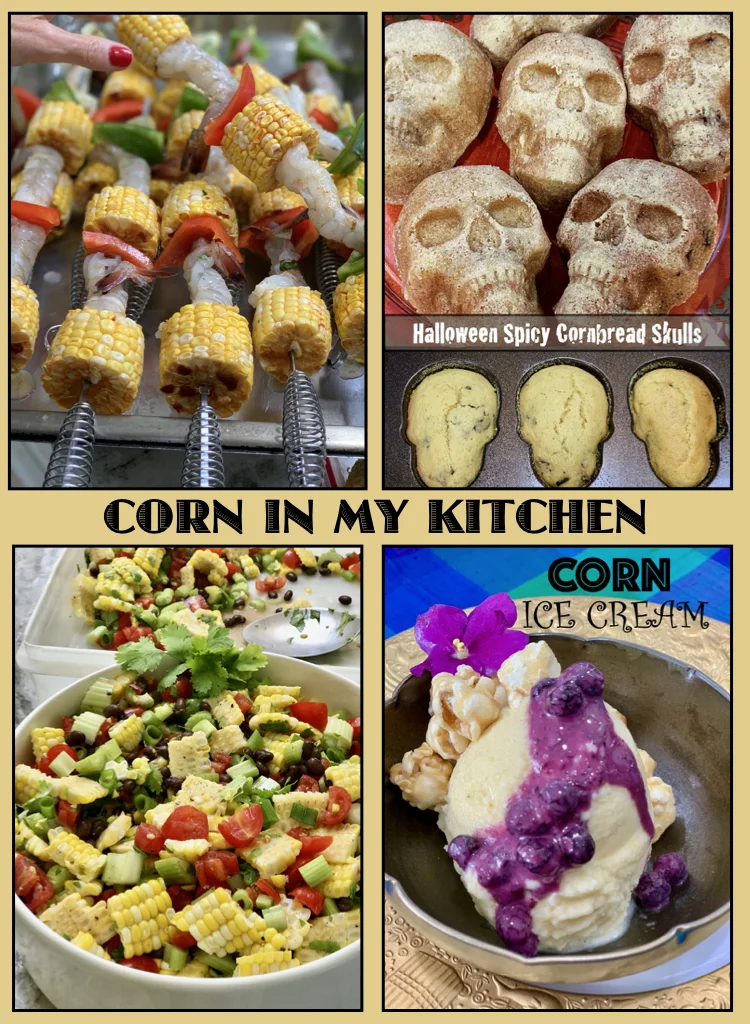
Corn In My Kitchen
It just so happens that I live in Maryland where a great deal of corn is grown, for a rather small state.
- Corn that doesn’t get eaten off the cob, is shucked and added to Fresh Corn Summer Salads and other delicious dishes.
- Sweet corn makes the absolute best Corn Ice Cream, by the way!
- Cornbread is made in so many different ways, depending on where you are from. As for me, I like it baked into a quick bread and not fried.
- Corn muffins, both sweet, or savory with a little heat, such as my Jalapeño Corn Muffins or my scary Halloween Pepper Bacon Cornbread Skeletons are made from freshly shucked corn.
- Equally easily made from frozen corn in the winter months, and perfect with chili, soups and stews.
Every Meal Has a Story
Fresh corn season doesn’t last long, which makes these Corn Fritters even more special. If you make this recipe, I’d love to hear how you served them. Leave a comment below, share your photos, and help inspire someone else’s harvest table. And if you enjoy seasonal cooking straight from the garden, be sure to explore more recipes here on Whisk and Dine, where every meal has a story.
Harvest Thyme Corn Fritters
Equipment
- Large non-stick saute pan
Ingredients
- 3 cups Cooked Corn
- 2 Eggs
- 1/2 cup Milk
- 3 tbsp Butter melted
- 1 cup All Purpose Flour
- 1 tsp Sugar
- 1 tsp Baking powder
- 1 tsp Salt or to taste
- 1/2 tsp Smoked paprika homemade
- 1/2 tsp Dried or Fresh Thyme
- 3 Spring onions stalks finely chopped
- 1/2 cup Grated Cheese
- 1 Small Jalapeño finely chopped (optional)
- 1/4 cup Sunflower oil or other cooking oil
Instructions
- In a large mixing bowl, add the cooked corn, eggs and milk. Blend without breaking the corn kernels. Mix in the melted butter.
- Over the corn mixture sprinkle the flour, sugar, baking powder, salt, paprika and thyme. Gently mix.
- Add the chopped spring onions, grated cheese and jalapeño, if using. Blend.
- In a non-stick saute pan, drizzle a little sunflower oil. When it starts to smoke, place heaping tablespoon size dollops of the corn batter. Cook until the underside is firm enough to flip over and takes on a medium gold color, about 2-minutes per side. Flip it and cook the other side. Continue until all the fritters are cooked.
- Keep warm in a low oven until ready to serve, or store in the fridge in an airtight container, and heat in the oven just before serving.

I believe the table... that place that draws people to gather, is the most powerful symbol of togetherness. All that happens before the table is set, the planning, the gathering, the preparing, are all an intricate part of the dance that create the mood of celebration to share with friends and loved ones.