DIY dining chair makeover in under 30-minutes, is simply a wise way to perk up the room you love to serve beautiful food in.

Quick Dining Room Chair Makeover
Dining Room looking a little tired? Sure, you can throw a pretty table cloth over the table, but what about those chairs!
A simple DIY makeover to those chairs will give the room a new look and feel, AND you don’t have to know how to sew a stitch!
Measure and Staple is all you do. I have been doing this since I was in my teens, now a grandma. Let’s do this!
DIY Is For Girlie Girls Too!
Shhhhh, don’t tell anyone but though I am a girlie girl on the outside (love fashion, makeup and lots of high maintenance), I love knowing how to do everything and anything I can do myself.
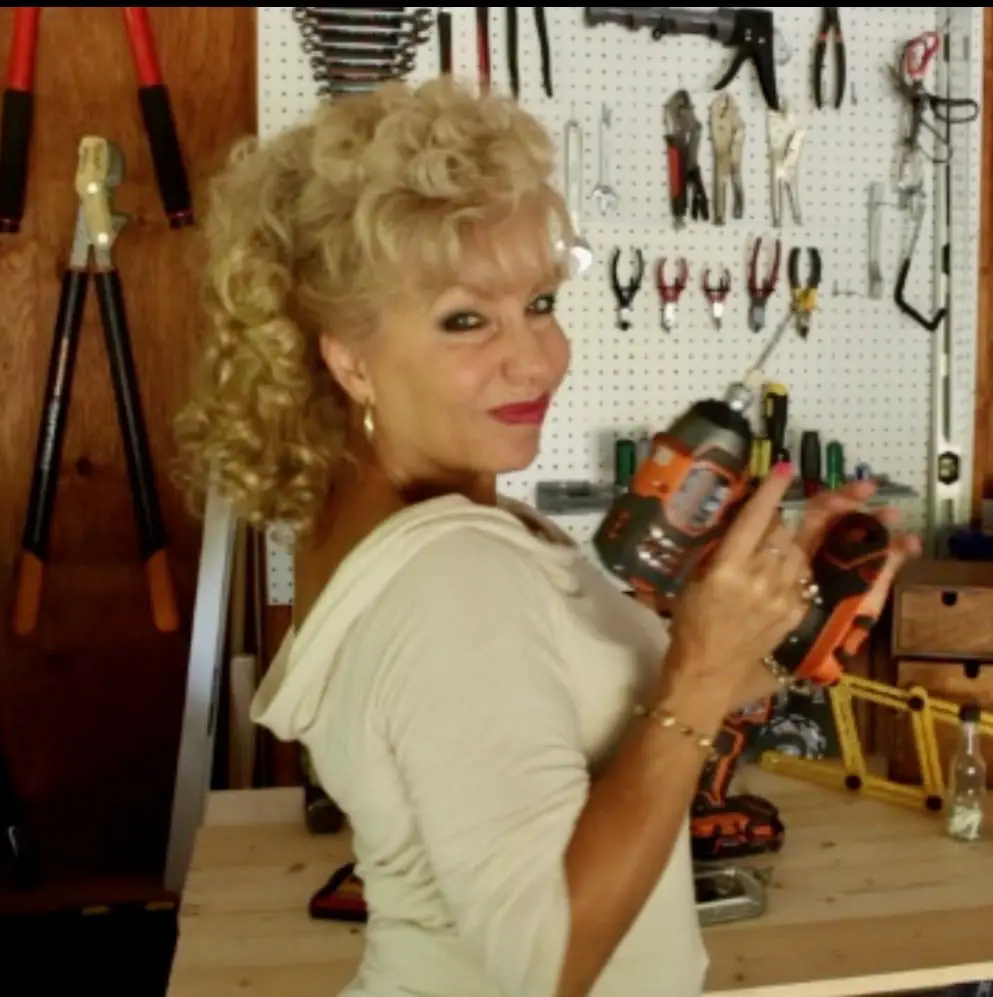
When I was a teen, I learned how to work with power tools in our garage. I can’t begin to tell you the powerful feeling that gave me.
A sense of control too, because I was no longer limited to the confines of buying ready made things to decorate or have to pay someone to fix simple things.
Once I was a big girl living on my own, I became a DIY gal, long before there was ever a word for it!
Food Blogging Is About Dining Too!
Now that I spend a great deal of time cooking for my camera and YOU, I discovered there are so many aspects of dining that go beyond the plate of food, such as the area you are planning to serve the meal.
We want it to look inviting and inspiring, set a mood for the season, or reason.
I also became a trash-picker, scavenger, garage sale, and consignment-shop gal, way back in the 80’s.
With a few simple tools, I was able to transform other people’s trash into beautiful new treasures.
Dining Chair Facelift
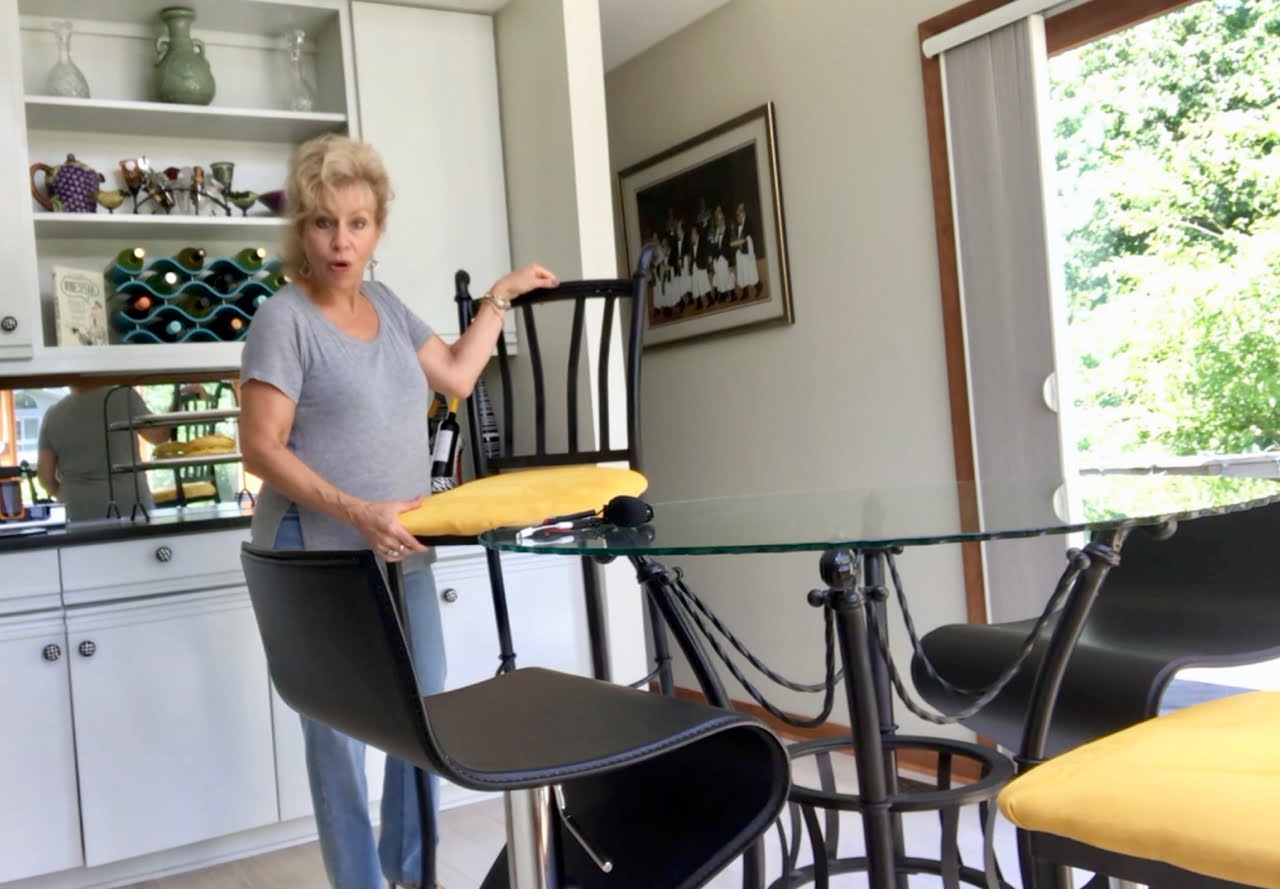
Above, on my video, you will see the process of recovering a few simple ugly chairs into something beautiful and new. You will need just a few things:
- Fabric – enough fabric to measure 3 inches bigger than the seat you will be covering
- Staple gun – electric is fabulous but a manual gun works just as well with a little elbow grease (strength), and they are very inexpensive.
- Heavy Duty Fabric Scissors – sharp enough for fabric
- Long Nose Pliers – small pliers with long pointy ends, or a small flat head screw driver and regular pliers
- Screw driver

Screw. Unscrew. Screw. Done!
With a screw driver, simply turn the existing chair upside down, and remove the existing seat.
If the existing fabric is not too thick, you can cover over it, though it fits best if you remove the existing fabric.
Slip your small flat-head screwdriver under each staple and loosen it. With the long nose pliers, or needle nose pliers as they are sometimes called, pull them out. Now you are ready to re-cover.
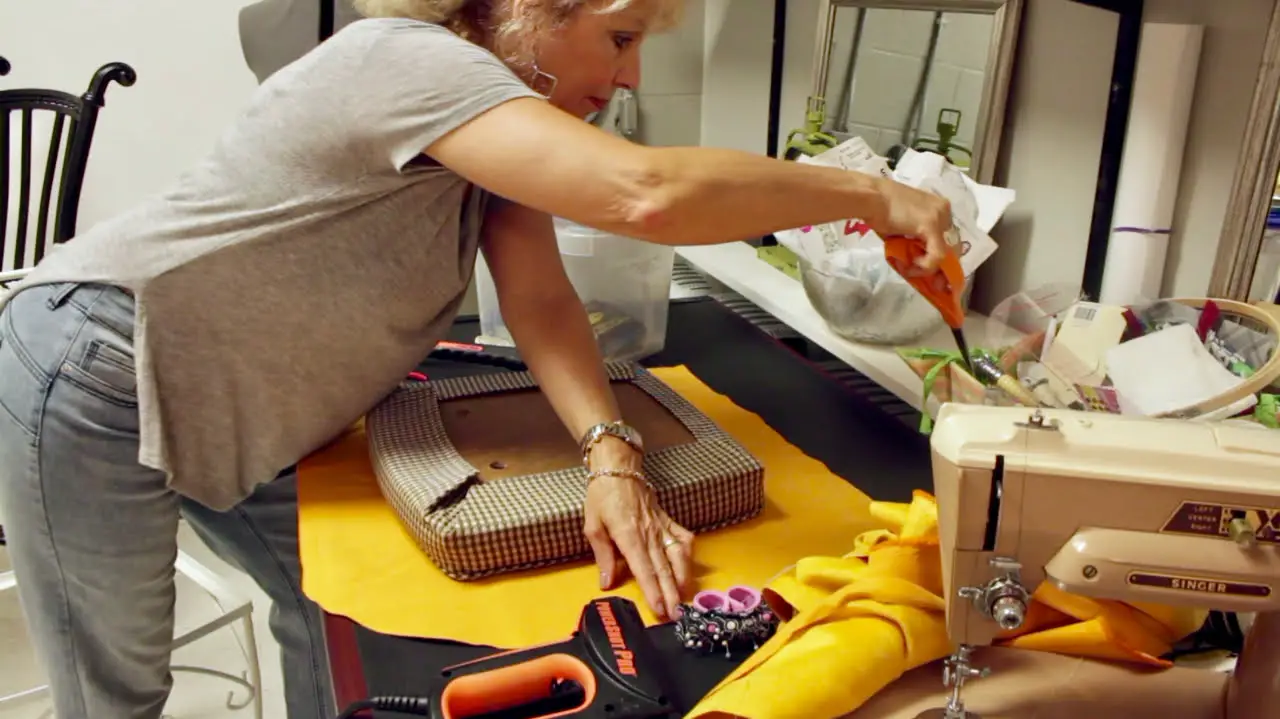
Place the seat on top of the fabric you will be using. Measure 3-inches around the edge of the seat and cut the new fabric out.
The rest goes fast. Pull the fabric tightly to the underside of the seat and staple. Go all around the seat you are covering and do the same, spacing the staples a few inches apart.
Neatly fold the corners, as you will see I have done in the video, and staple. Trim any excess fabric for a cleaner finish, and if the fabric has lots of threads, simply mask tape the edges to the wood of the underside.
Now you are ready to screw the seat back into place on the chair. YOU DID IT!

Other DIY Home Projects To Love
How crazy was it that I decided to make my own Christmas tree! I decided that the waste of cutting a tree just to decorate for a month was not environmentally friendly, so I came up with a better idea!
